Citrix Profile Management
Profile Management
First of all you will need to ensure that the Profile Management ADMX Templates have been installed by following this guide.
To set up Profile Management within a Citrix Environment you will need to use Group Policy. The following settings will need to be set up:
General Group Policy Settings
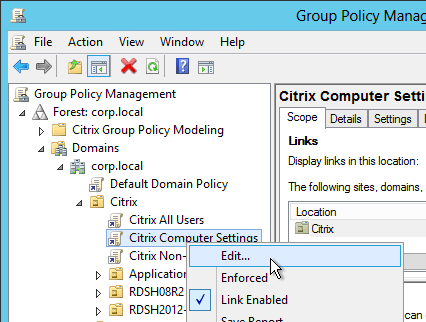
Edit a GPO that applies to all machines that have the Profile Management service (Virtual Delivery Agent) installed.
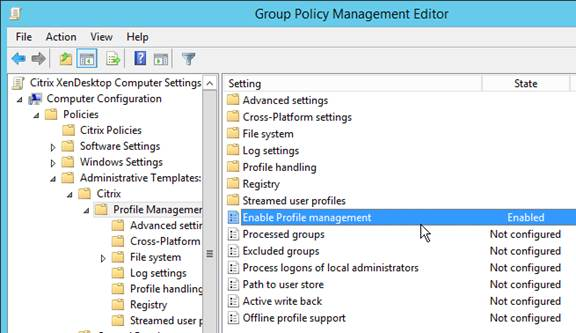
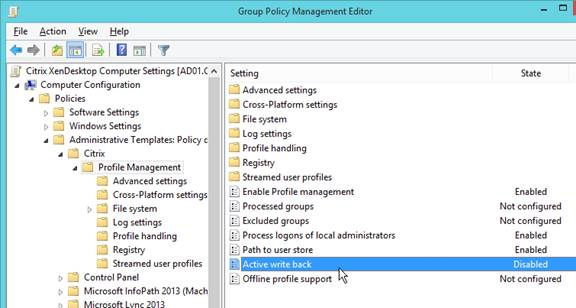
Go to Computer Configuration\Policies\Administrative Templates\Citrix\Profile Management and enable the setting Enable Profile management. Profile Management will not function until this setting is enabled.
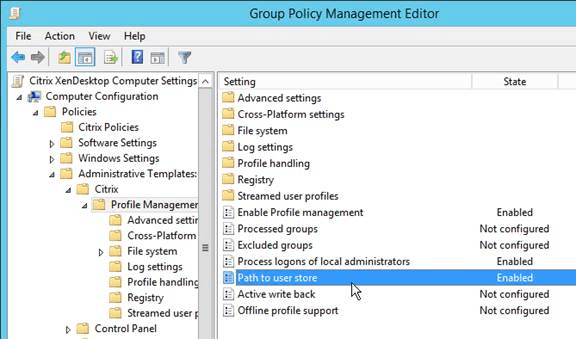
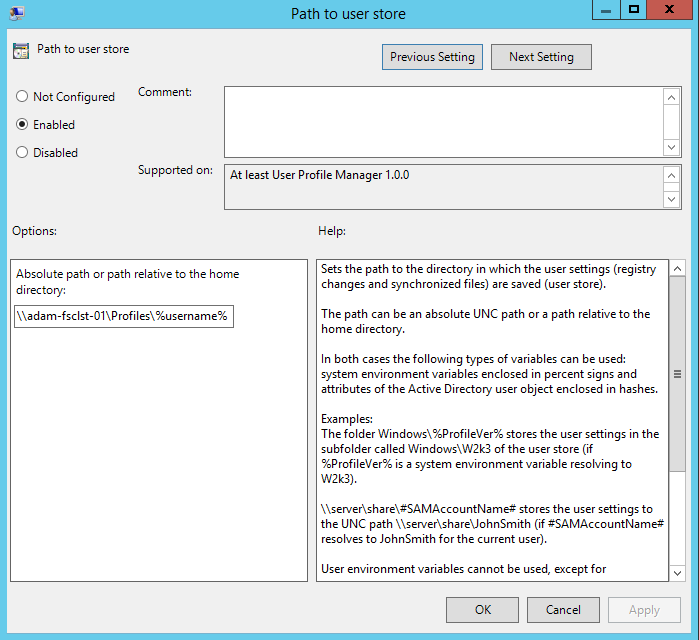
Enable Path to user store.
Specify the UNC path to the folder share. An example path is below:
\\adam-fsclst-01\Profiles\%username%
Disable Active write back. This places additional load on the file server and is only needed if users login to multiple machines concurrently and need mid-session changes to be saved. Note: if you don’t configure this, it is enabled by default.
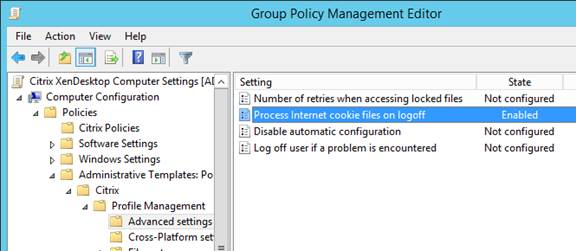
Under the Advanced Settings node, enable the setting Process Internet cookie files on logoff.
