Citrix Pass Through Authentication
To enable and set-up Pass Through Authentication in Citrix XenDesktop 7.8 complete the following:
Contents
Delivery Controller Settings
Run the following on a delivery controller from a Windows Powershell Prompt as an Administrator:
asnp Citrix*
Set-BrokerSite -TrustRequestsSentToTheXmlServicePort $True
Citrix Receiver Settings
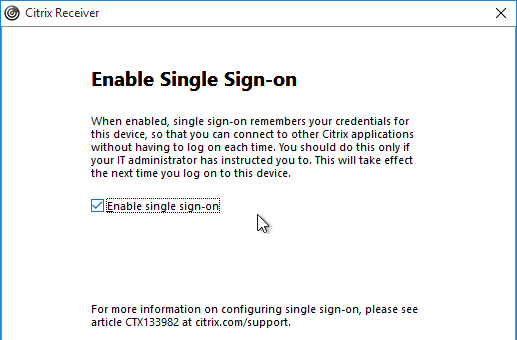
When installing Receiver on a VDI ensure you click the Enable Single Sign-On check box as below:
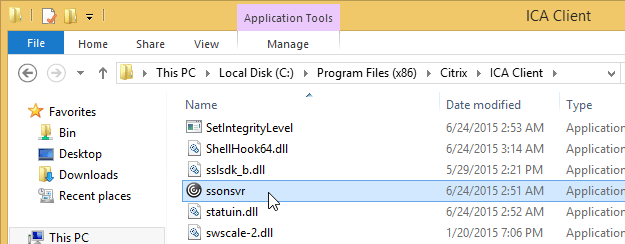
To verify that SSON is installed, go to C:\Program Files (x86)\Citrix\ICA Client and look for the file ssonsvr.exe.
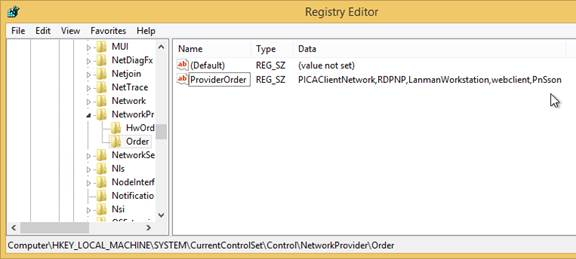
And if you open regedit and go to HKLM\SYSTEM\CurrentControlSet\Control\NetworkProvider\Order, you should see PnSson in the ProviderOrder.
Install the receiver.admx (and .adml) template into PolicyDefinitions if you haven’t already by following this guide.
Edit a GPO that is applied to the client PCs where the Citrix Receiver is installed.
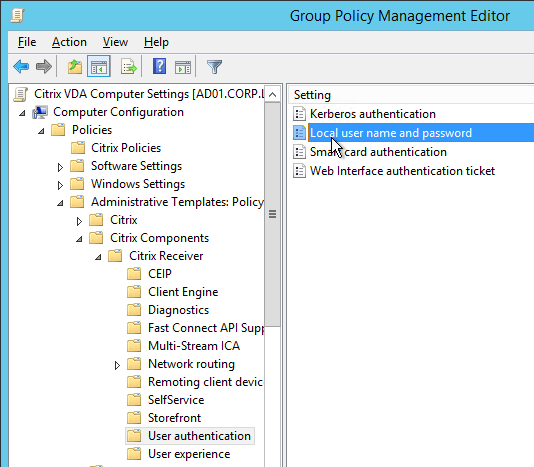
Go to Computer Configuration > Policies > Administrative Templates > Citrix Components > Citrix Receiver.
Expand Citrix Receiver and click User authentication.
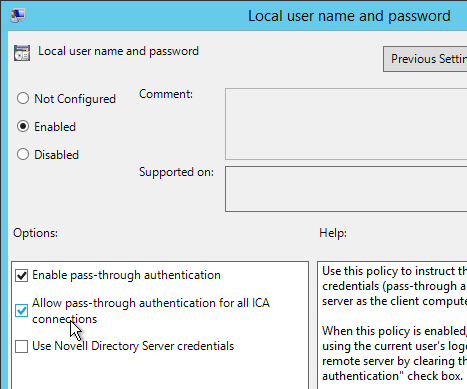
On the right, double-click Local user name and password.
Select Enabled and then check the box next to Allow pass-through authentication for all ICA connections. Click OK.
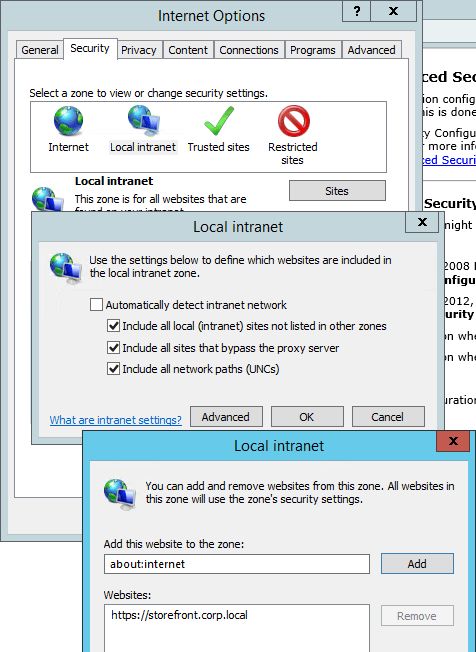
Ensure that the internal StoreFront FQDN is in the Local Intranet Zone in Internet Explorer as below.
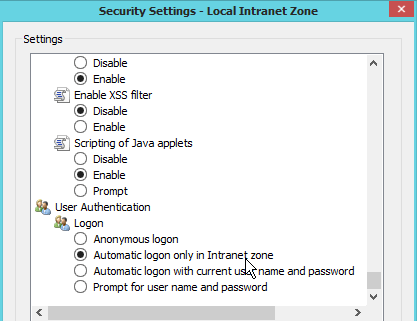
Local Intranet zone should have Automatic Logon only in Intranet Zone enabled.
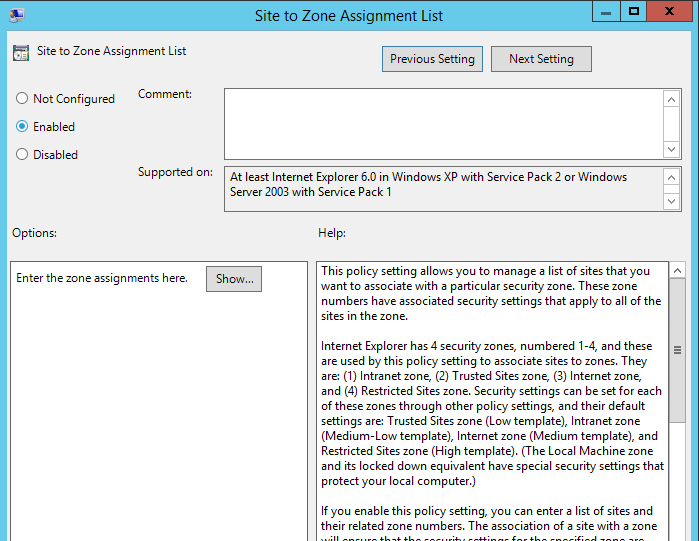
You can use a GPO to configure this on the client side There is a group policy setting at User Configuration > Policies > Administrative Templates > Windows Components > Internet Explorer > Internet Control Panel > Security Page > Site to Zone Assignment List that can be used to put Internet sites in Internet Explorer security zones.
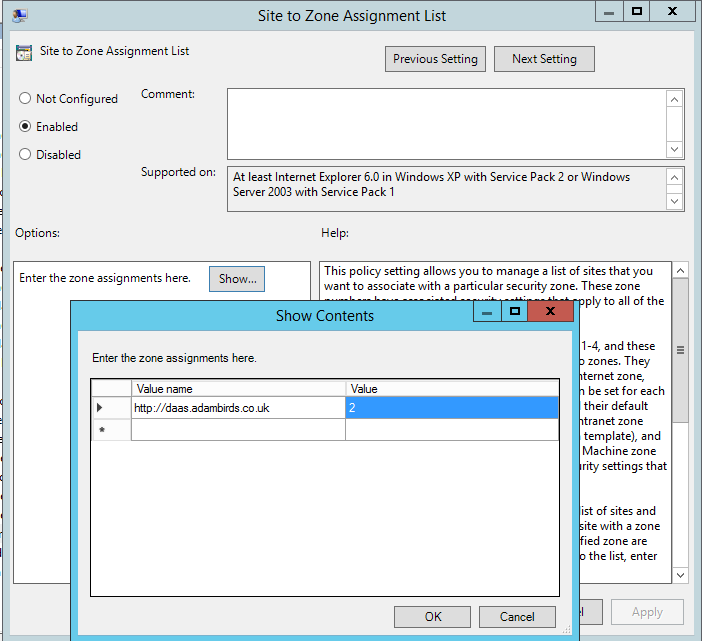
To set these you need to navigate to User Configuration > Policies > Administrative Templates > Windows Components > Internet Explorer > Internet Control Panel > Security Page > Site to Zone Assignment List and double-click it. Then click enabled.
You then need to click Show and then enter the StoreFront FQDN on the left and then enter the number 2 on the right side.
If the Storefront URL is using HTTP then we will also need the following settings:
Click Start and enter regedit
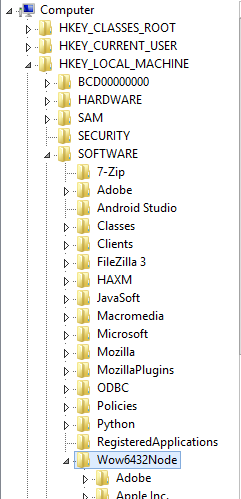
Navigate to HKEY_LOCAL_MACHINE\SOFTWARE\Wow6432Node\Citrix\
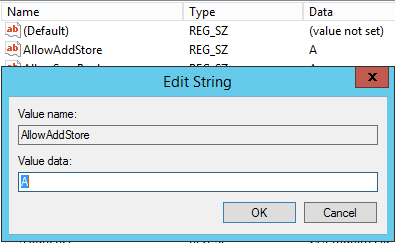
Navigate to Dazzle and set the AllowAddStore value to A to allow users to add non-secure stores.
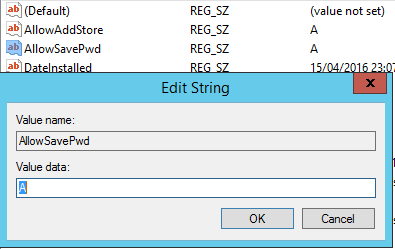
Also set the AllowSavePwd value to A to allow users to save their passwords for non-secure stores.
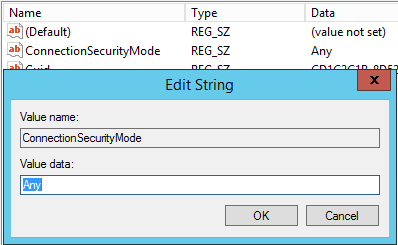
Then navigate to AuthManager and add the following value to allow you to add a store that is configured in StoreFront with a TransportType of HTTP:
Name: ConnectionSecurityMode
Value Type: REG_SZ
Value: Any
Exit and restart Receiver.
These can again be applied by a GPO.
This completes the setting required for Citrix Receiver.
Storefront Settings
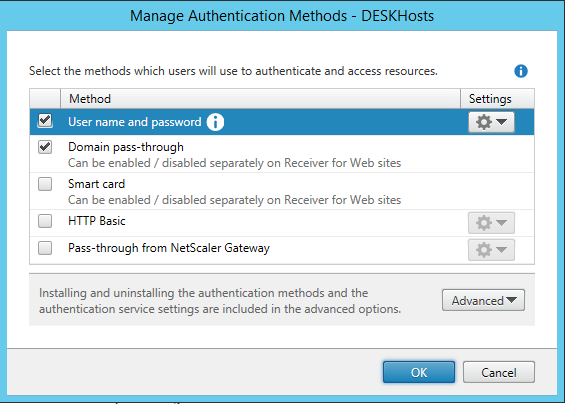
We need to enable domain pass-though authentication for the store by doing the following:
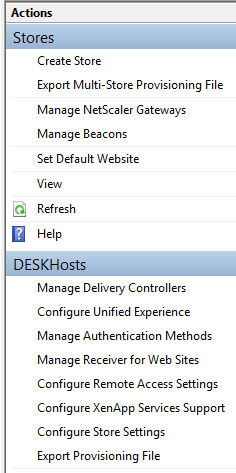
Click Manage Authentication Methods.
We then need to tick both Username and Password and Domain Pass-Through and then click Ok.
Studio Settings
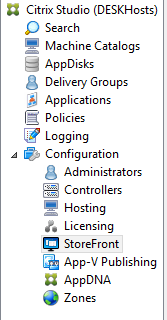
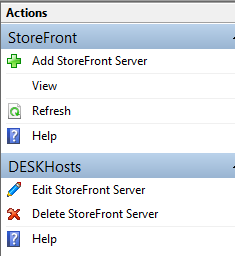
Navigate to Storefront within studio.
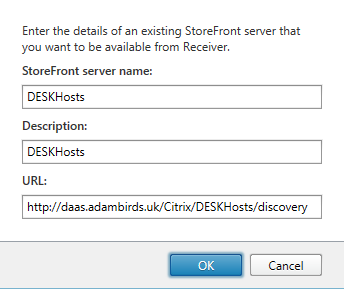
Click Add Storefront Server
Add the requested settings in. The important setting is the URL which should be entered in the following format:
http://example.com/Citrix/Store/discovery
